Hardware installation for PyRPL
The Red Pitaya is an affordable FPGA board with fast analog inputs and outputs. PyRPL implements a large number of measurement and real-time feedback instruments for this platform. For PyRPL to work, you must have a working Red Pitaya / STEMlab connected to the same local area network (LAN) as the computer PyRPL is running on. If you have not already set up your Red Pitaya, follow Follow the official documentation and then run Check that it is working.
Follow the official documentation
Follow the quick-start steps in the official Red Pitaya documentation until you can access the Red Pitaya from your computer. You are then ready for Installing PyRPL.
Check that it is working
The fastest way to check that the Red Pitaya is working is to launch PyRPL and let it automatically discover the Red Pitaya device. If this does not work, you may want to ensure that the Red Pitaya and SD card are actually working together.
To make sure the SD card is bootable, insert it into the slot of the Red Pitaya and plug in the power supply. Connect the Red Pitaya to your local network with an ethernet cable and enter its IP address in a web browser. The Red Pitaya welcome screen should show up.
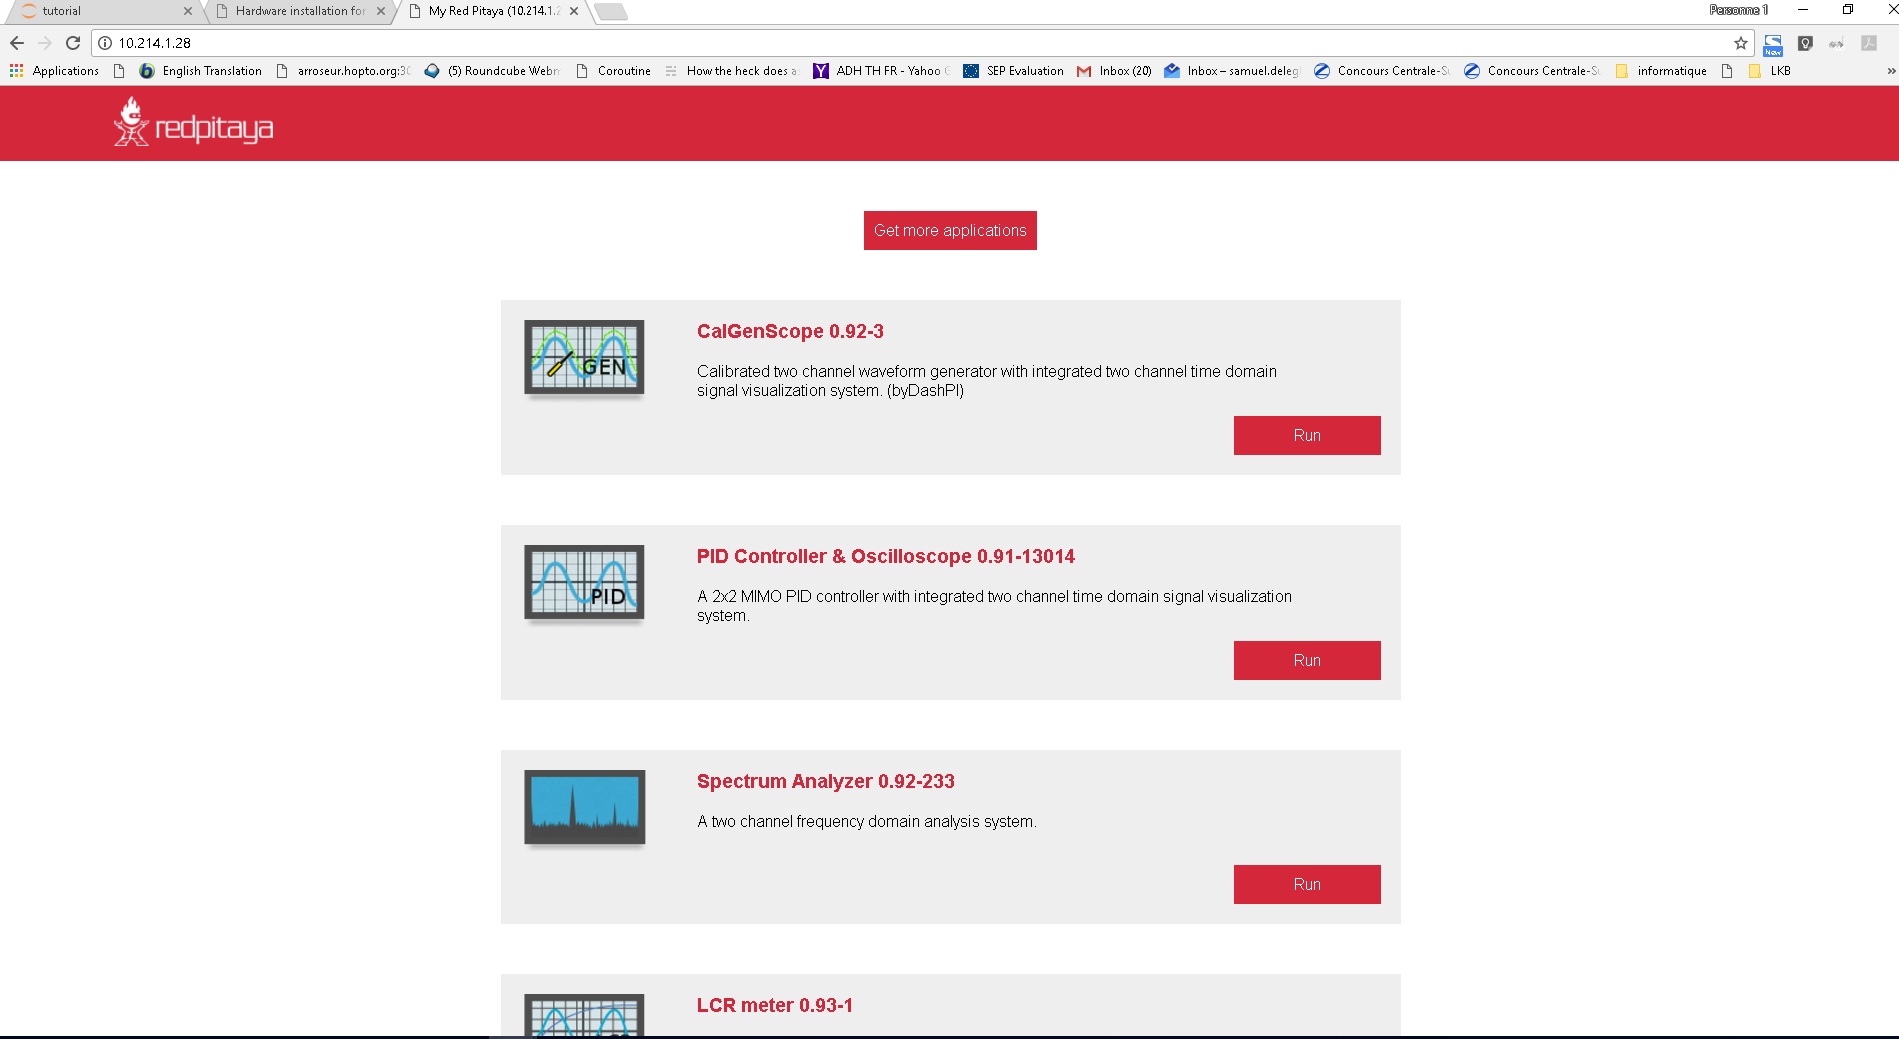
This is the Redpitaya welcome screen.